Saturday, December 30, 2017

Making my Fashion School Mini-Collection

Hi everyone!

The video showing the process of how I designed, drafted, and constructed my student mini-collection along with the fashion show is finally complete! It does a good job of showing the basic process of how it went, but I thought it would be good to share some extra things I had to do in order to reach the assessment criteria for fashion school.


Specification Sheets:

Spec sheets come into play right at the end of design development, before pattern making. While my garments aren't being mass-produced, we have to understand how to build a sheet presenting all samples, thread, trims and construction details.

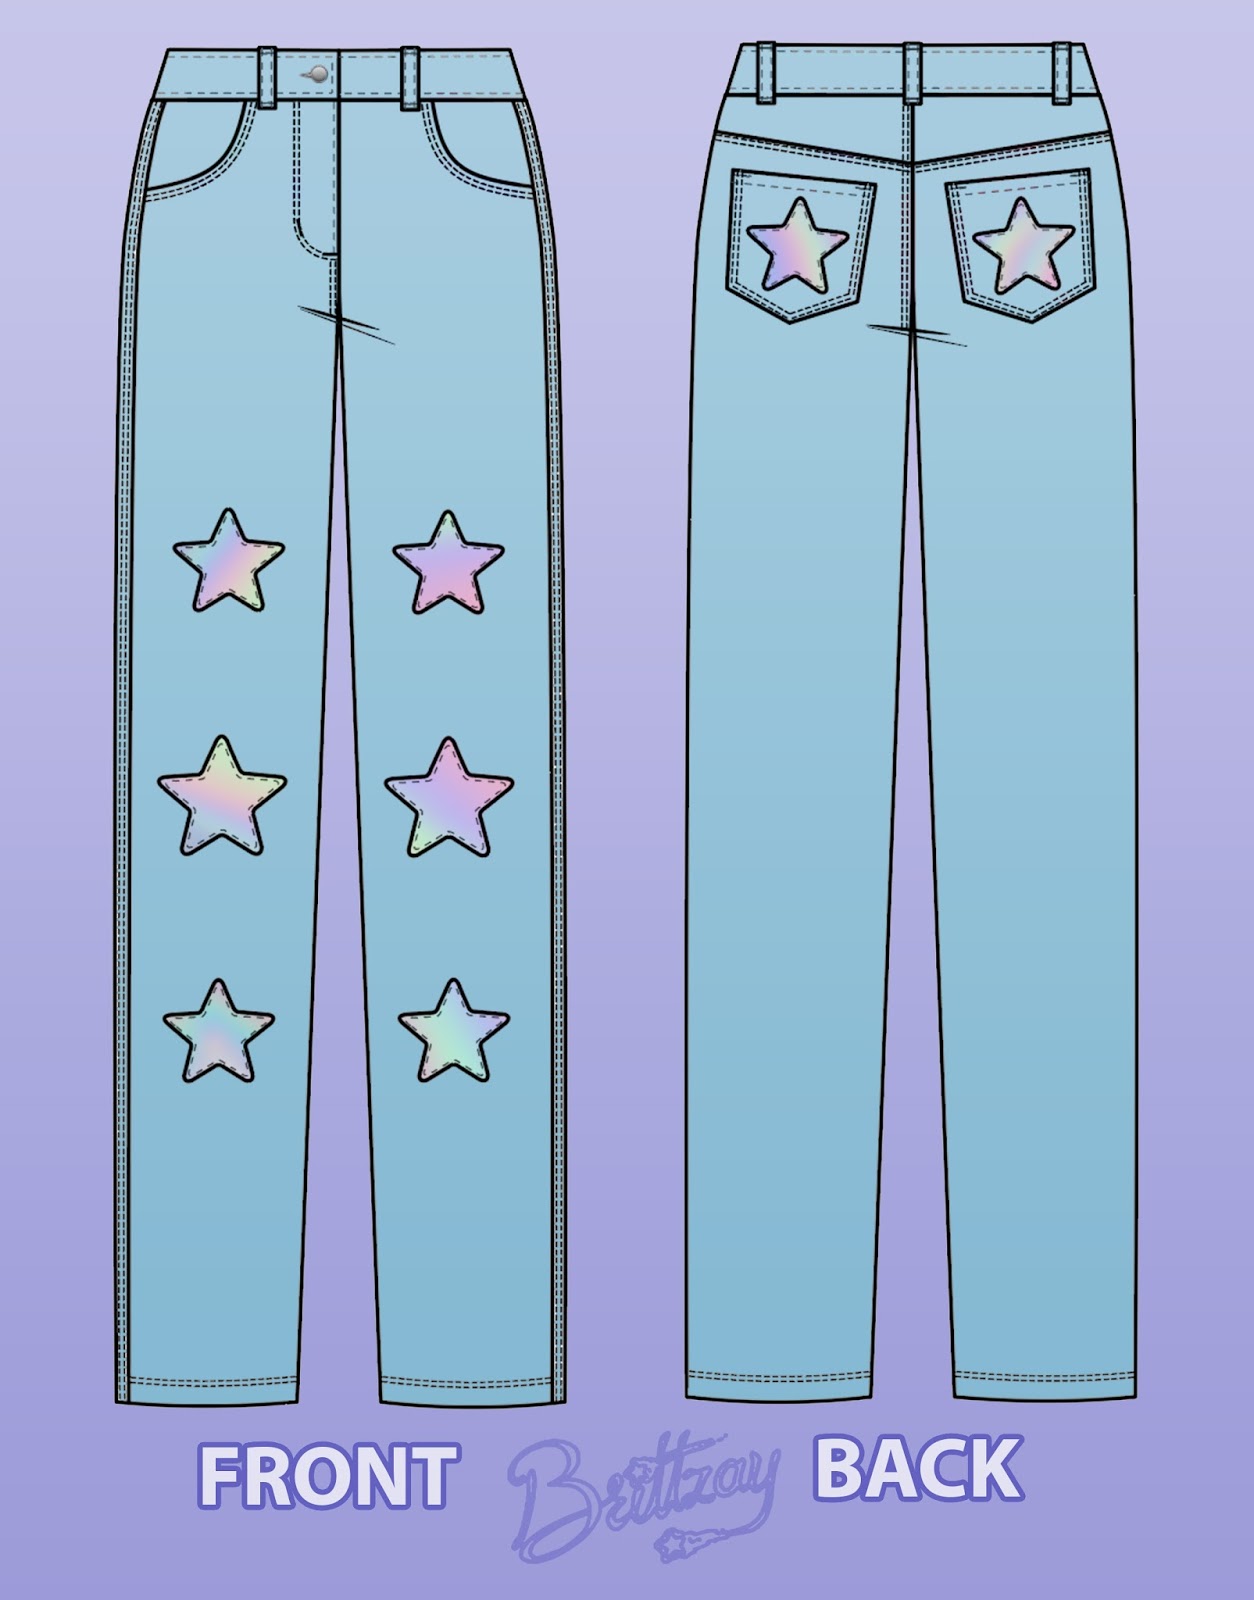
I'm currently building a big post explaining technical drawings and spec sheets, but here are a few of them I specifically made for this mini-collection.


Pattern making:

Pattern making is one of those tricky parts of making clothing, as you need to think of how the design can be broken down into various pieces to be later constructed again. It involves a lot of abstract thinking and math, but once you get the hang of it, drafting will become more repetitive and less overwhelming.

At fashion school, you can draft a pattern in two ways; traditionally (using a ruler, pencil and paper) and digitally (using a pattern making software on the computer.) Both processes are very similar to one another, especially in the planning stage.


Something that is recommended when at fashion school is to continually document your work and findings when drafting patterns. Typically I have a habit of stuffing my notes into a dusty binder to be forgotten.. however, I mentioned that pattern making can be repetitive, and depending on your style interests, you may be able to reuse your previous work to adapt into another garment. It also means that you will have less work to do in the future and any opportunity to save time is great, so be sure to keep those notes!


Star Patches:

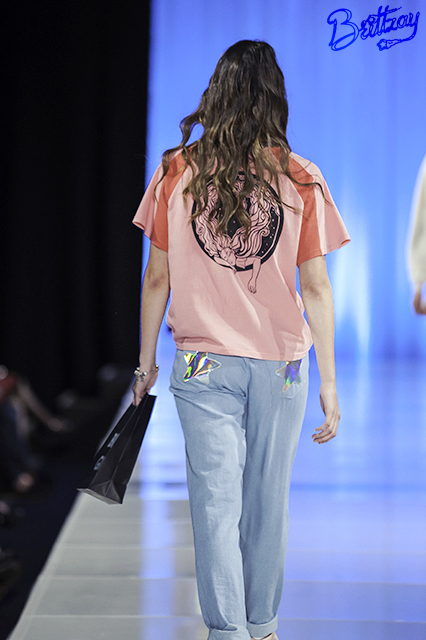
The video shows two ways that I applied the star patches to my collection. The first was using a sewing machine to attach the patches to the clothing, and the second method was by hand-sewing to my shoes.

If anyone is interested in making similar star patches for themselves, here is the template I made and used. There are multiple outlines as it can be difficult to get the right size when printing out, just cut to whichever line is the right size for you and then it's ready to trace off onto your fabric.


Monday, December 18, 2017

End of year S/S Fashion Show

Hello everyone, it has been a busy couple of months, but I am finally on holiday until March next year. There is a video coming up explaining how I designed/made my recent end of year S/S mini-collection, but in the meantime, here are the photos from the fashion show!

I have put watermarks on the images only so they can be linked back here, but the full credit for photography goes to Sean Spivey and Tim Lomax.


Overall, things went really well with the show. I met with the models on the day so I had to keep my fingers crossed that the garments would fit, and they did! The only issue was that the jeans too large in size for the model, but this was fine since the style was meant to be loose - but to avoid them slipping down I ended up giving her the belt I was wearing that day... so you should be able to notice that in the photos.

Sending a big thanks to the models & to everyone in my class for a crazy, but overall great year.


(I also received an award at the end, so here's me quickly running on and off stage to receive it haha, thank you!)


Saturday, May 6, 2017

Design Process Technique: Textures (Photoshop)


Hi everyone!
This is another simple technique i've been doing for class lately, it's quick and easy to demonstrate so let's get right into it!

In fashion, drawing or photo editing software is used for an incredible amount of jobs; sometimes to gain inspiration, develop a design or even how to present a final design.

The kind of image edits i'm demonstrating here can be used to:
- experiment with colours
- create a print
- see how an image works against another object/body
- make cool effects on a final artwork or photograph


For my work, I wanted to see how various colours and images looked against a face/body.

So i'm more of a designer rather than a model. But being in short of time, I fixed up a quick photo set wearing a black strapless top and a plain white shirt.

Depending on the kind of work you are wanting to make, you can also photograph yourself, somebody else, an object, clothing, drawings etc.


These are my base images, of which I will apply a texture onto.

To make textures, all you need are images of other subjects, such as colours, flowers, prints etc.
A few weeks ago I did some watermarbling with nail polish onto paper which I will be using. 

You are welcome to use these too for practise purposes!

To edit, I am using Photoshop CC, but there are many alternatives for photo editing software, some are free too.

Free software I have used in the past:
Gimp - Better for photo editing
Krita - Better for art and digital painting

The steps will be very similar when using other drawing software, but the names/locations of the effects will differ.


Demonstration:

Open up Photoshop and place the base image. Then place/drag the texture onto a second layer, so it covers the entire base image.


In the layers tab, there is a drop box you can open which is the layer blend mode. This affects how the selected layer interacts with other layers.

In older versions of Photoshop, this menu can be found by double-clicking on the layer.


When clicking on the dropbox, a list of layer options will show up. Now, this is the time to experiment! Different images will interact with these features in an entirely new way, so play around and try them out!


I personally recommend:
- Overlay
- Soft Light
- Pin Light
- Screen
- Multiply
- Lighten/Darken

Soft Light
Overlay

However, some of these layer modes might seem blinding or harsh, which is when the opacity can be changed.


You can also mix blend modes by duplicating the texture layer and choosing different effects for each selected layer. For Photoshop, this can be done by right-clicking on the layer to bring up a menu.


Multiply 20% Luminosity 20%
For this one, I inverted the texture colours, and applied Exclusion at 72% Opacity

You can make it striking, or more subtle, it's all up to you!

And one last tip, if you don't like how the texture is working, you can try moving the image around and placing it at a different angle. This can be done by pressing Ctrl + T or Edit > Free Transform

Using the same texture image, but rotated at different angles

And that's about it!

Here are some other quick edits I made with the same technique, but using different texture images.

Pin Light: 100%

Screen 100% Lighten 42% Pin Light 100%
Overlay 24% Pin Light 39%

Screen 100% with Gradient Filter


Pin Light 100% Overlay 41%

Hope this helped! Keep creating!

Thursday, April 20, 2017

Design Process: Fashion Cutouts


Hi everyone!

This isn't an uncommon technique when it comes to designing or gaining inspiration for fashion, but I would still like to talk about it. Making cutouts is especially handy if you're not very comfortable with drawing just yet, or just want to experiment with an idea quickly without spending extra time making little details.

Cutouts are almost like reverse paper-dolls. Normal paper-dolls (or Stardolls, for example) have a flat body/base, where clothing can be layered on top. The cutout technique is very similar, but you either cut-out the clothing shape from a model, or use a 3-D material to create a new kind of clothing.

Let's get right into the technique!

You can use:
- Magazines
- Comics/books
- Your own drawings
- Photos of yourself/friends
- Stardolls! (just as a fun extra)

**and just as a quick note, everything I express here is all for personal/practise and free use only**

1. Magazines/Photos
My fashion school has a large collection of fashion magazines just for this reason. If you like reading magazines, comics or have photos of you and your friends... print, photocopy or rip them out!


(Also, do your best to remember where the images came from, the cover was already ripped out of this magazine, but it seems to be from the early 2000's)

You may also need a craft knife or something similar. Have a cutting board or heavy card backing available, such as the back of a sketchbook.

Cut out the garment, or a part of it - so it leaves an open space. You can also leave in edges, folds, belts.. it all depends on what you like about it!

For this one, I left a few lines for the belt and skirt.
I liked the shirt print here, so I only cut out the pants.

Then, collect up some inspiration, images and objects to create into a new design or print. Place your cutout on top, move it around a bit and see how it looks on the model.

(I have a tutorial on gaining inspiration here if it helps)

This really is just playing around with your images until you find something that works. It takes me quite a while to find something I like, so keep trying!

There are other things you can try, like photocopying something in black/white instead of colour, or tracing an image to show only the outline, which is what I have experimented with below:


You can make the final creation look very different from the original inspiration!


2. Drawings/Your own work.
Using your own drawings can work just as well. By taking your own photos, or drawing up shapes, art and croquis (fashion templates).

Here are a few simple templates I have used to demonstrate, you are welcome to use these too!


Once again, print and cut them out, and see what textures, colours and effects you can apply to them.


The cover of my binder for fashion school

A flower picture turned upside down


3. Using a Stardoll!
This is just a fun little extra for Stardolls. While we always see our doll in the digital realm, I think it would be pretty cool to bring it into the real-world too!


For this, I printed out various versions of my doll wearing different types of clothing. Then, did the same as before, cutting out various parts of the clothes.

I added a card boarder to some of them because the images were pretty small and needed some support, but this isn't entirely necessary.


Another great part of using a Stardoll is that you can print out the base (without clothing). This makes it a lot easier to overlay objects and things to make some interesting shapes and ideas!

Autumn leaves from the garden

A flower pot in my house

Holding it up to the sky
If you have any leftover easter egg foil, this is another way to reuse it!

From my holographic backpack

Use your own doll, or a friend's doll. I think it would make a lovely gift to design something inspired by what they love.

Get creating!